
About
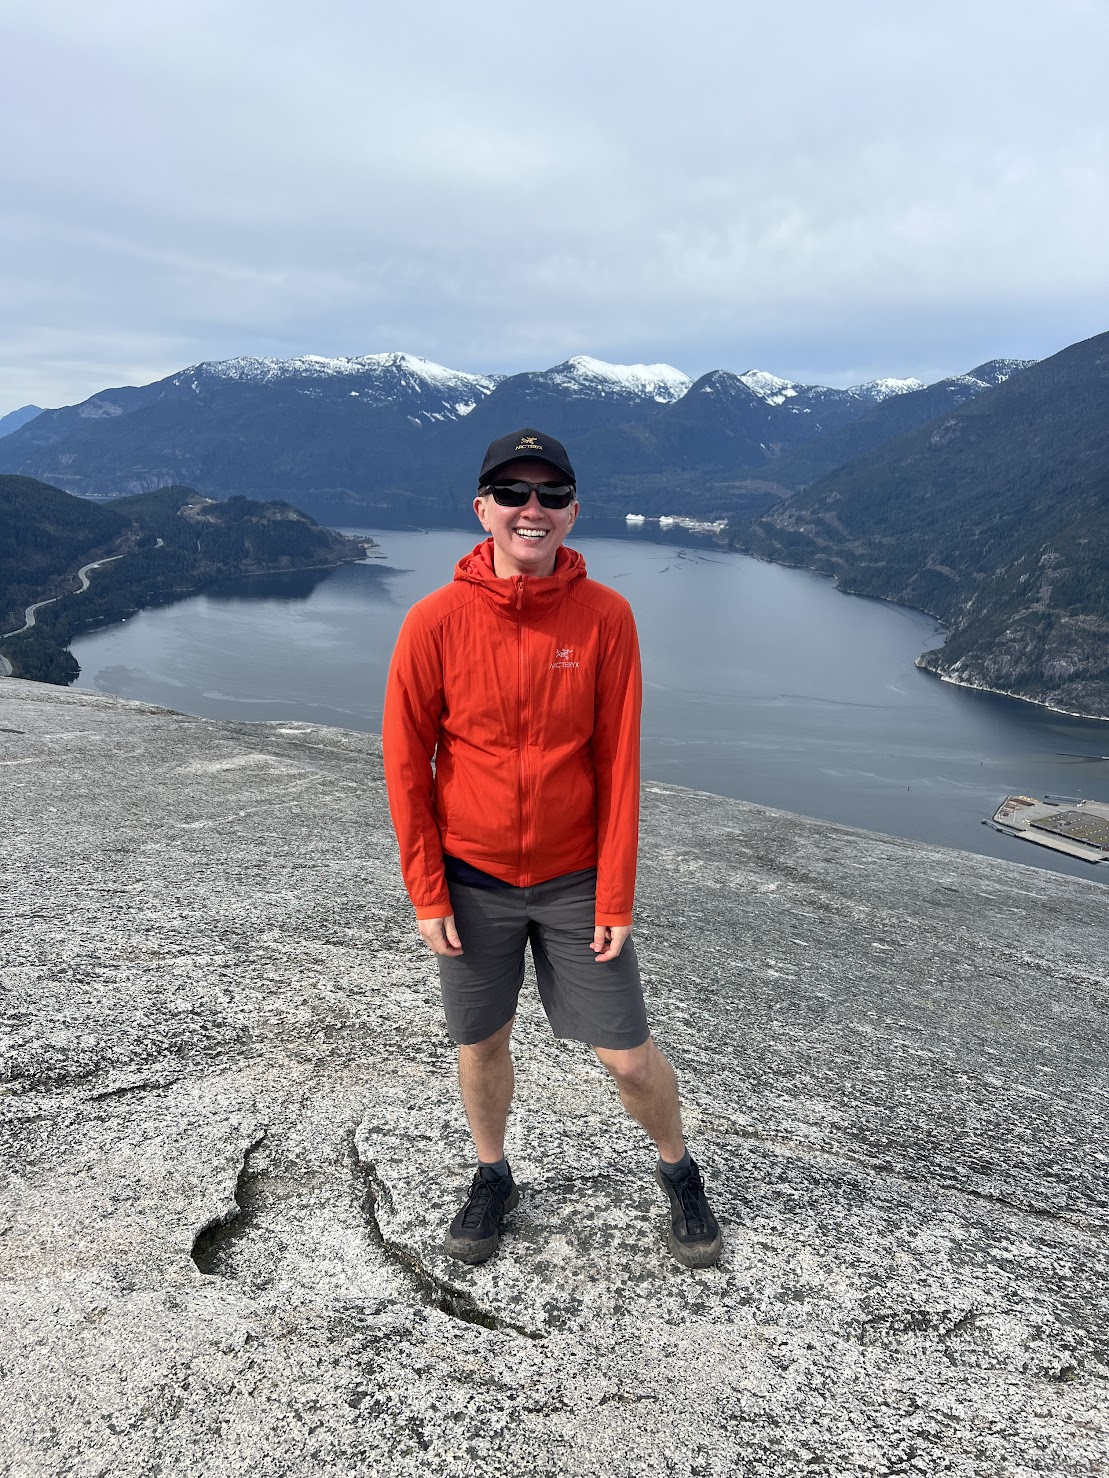
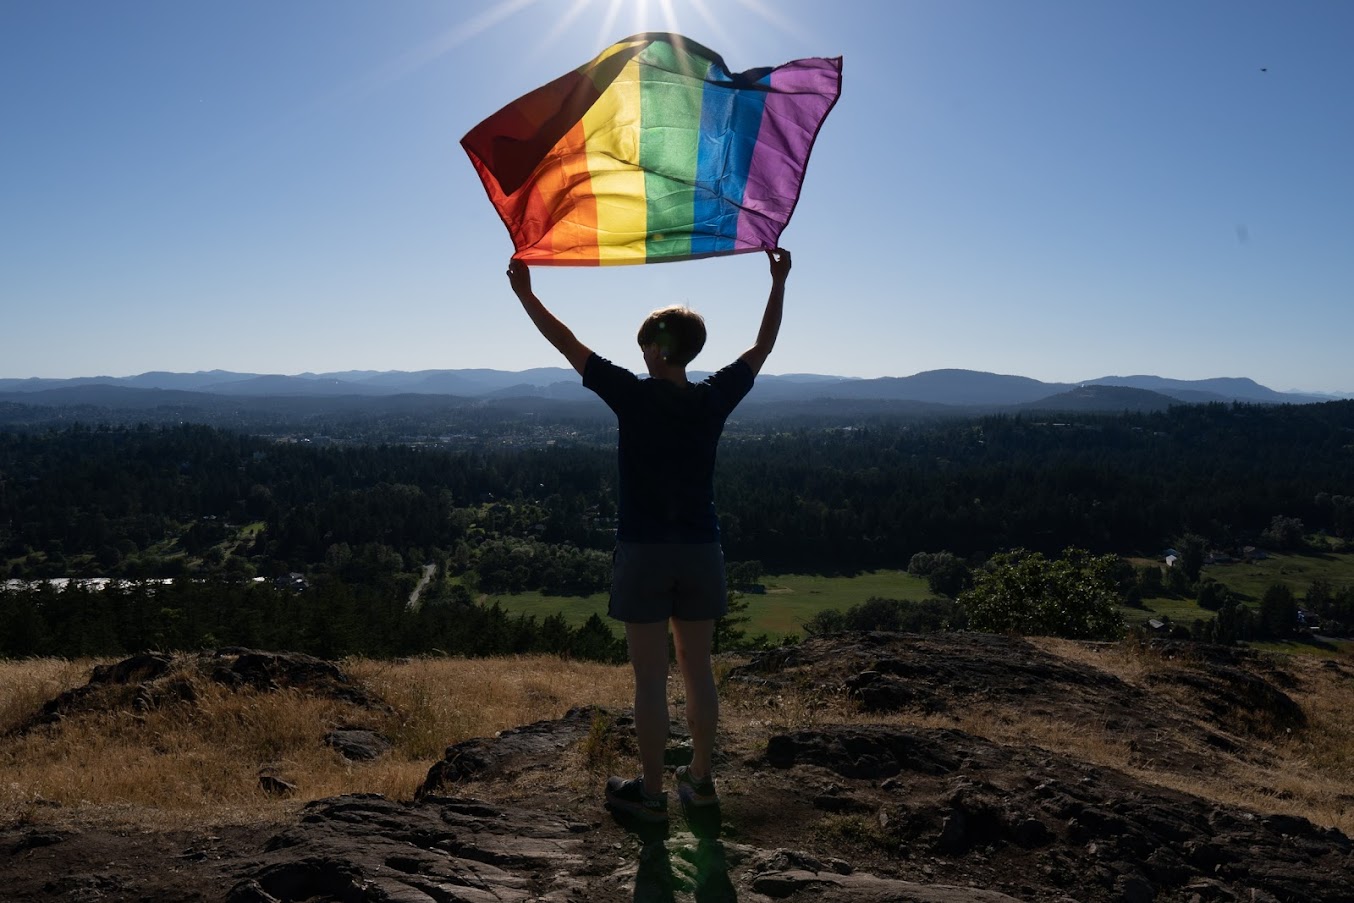
My name is Rain (they/them) and I live on the unceded territories of the Musqueam, Squamish, and Tsleil-Waututh Nations also known as Vancouver, BC.
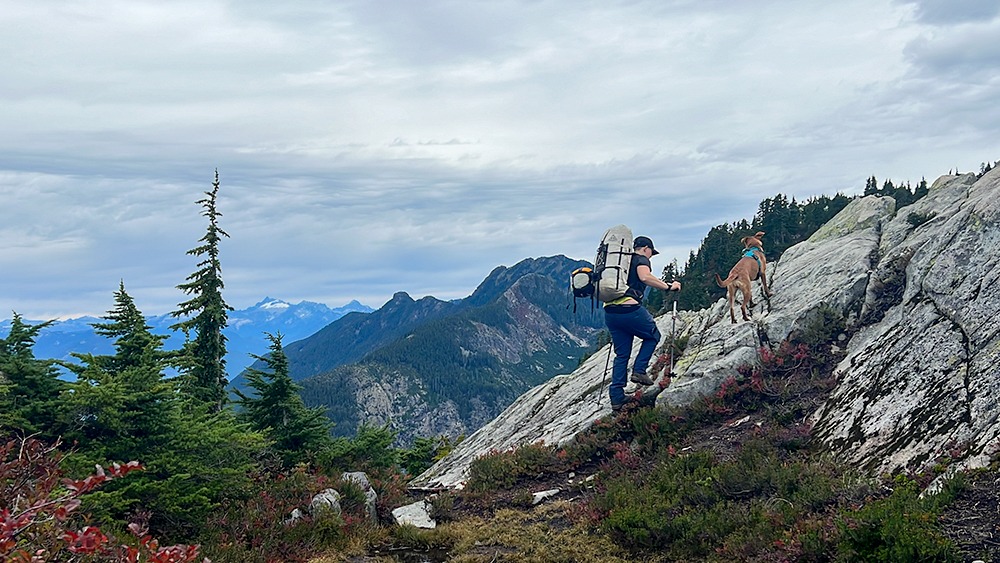
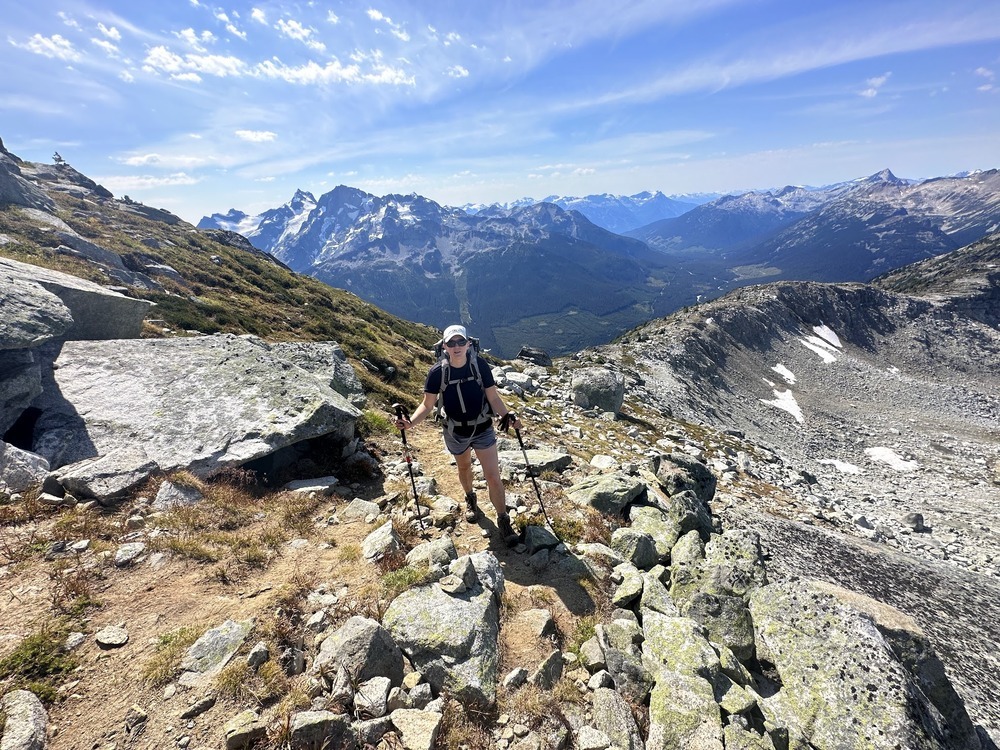
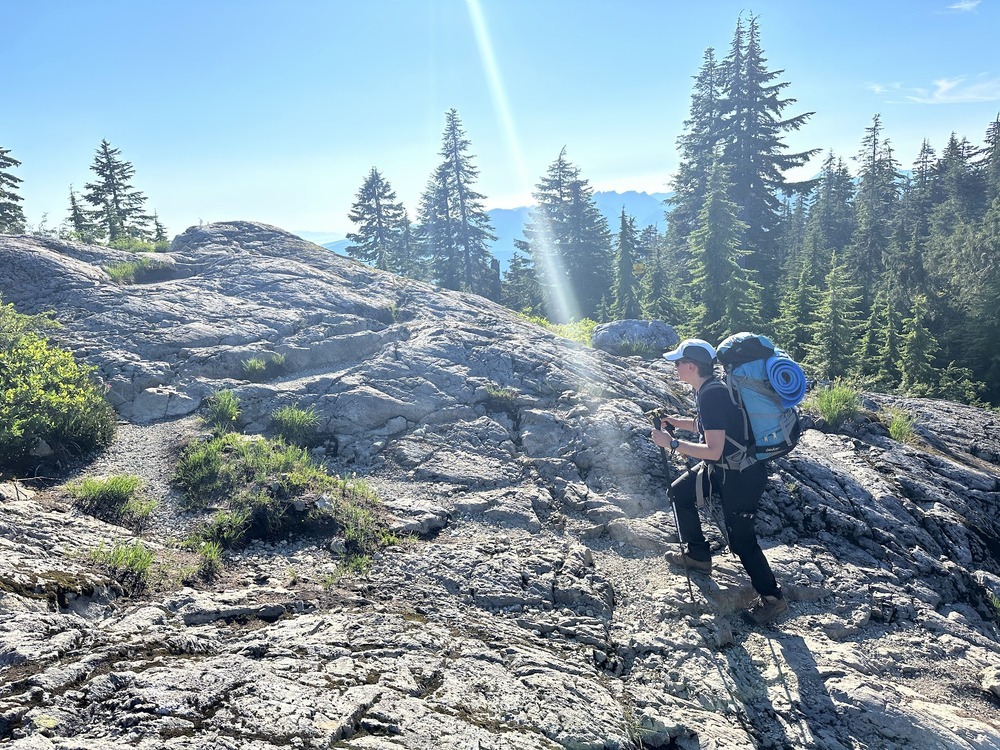
I am a queer, trans, non-binary, white, middle-aged human. I love being in the mountains, especially near home.
I am very passionate about making the outdoors accessible to more people. I started We Belong Outside to help change the way we think about who what a climber or hiker looks like.